Access Control
Control who can view your documentation with flexible access control options.
Overview
Control who can view your documentation by configuring access control settings. You can make your documentation fully public, fully private, or a mix of both.
Access control is configured in the dashboard under Settings > Access Control and takes effect after you publish (or re-publish) your documentation.
If you store your documentation source in your own Git repository, keep that repository private so the source content is not publicly visible. Access control settings apply only to the deployed documentation site, not to the visibility of your Git repository.
Access modes
-
Public: Anyone can access your documentation. No authentication required.
-
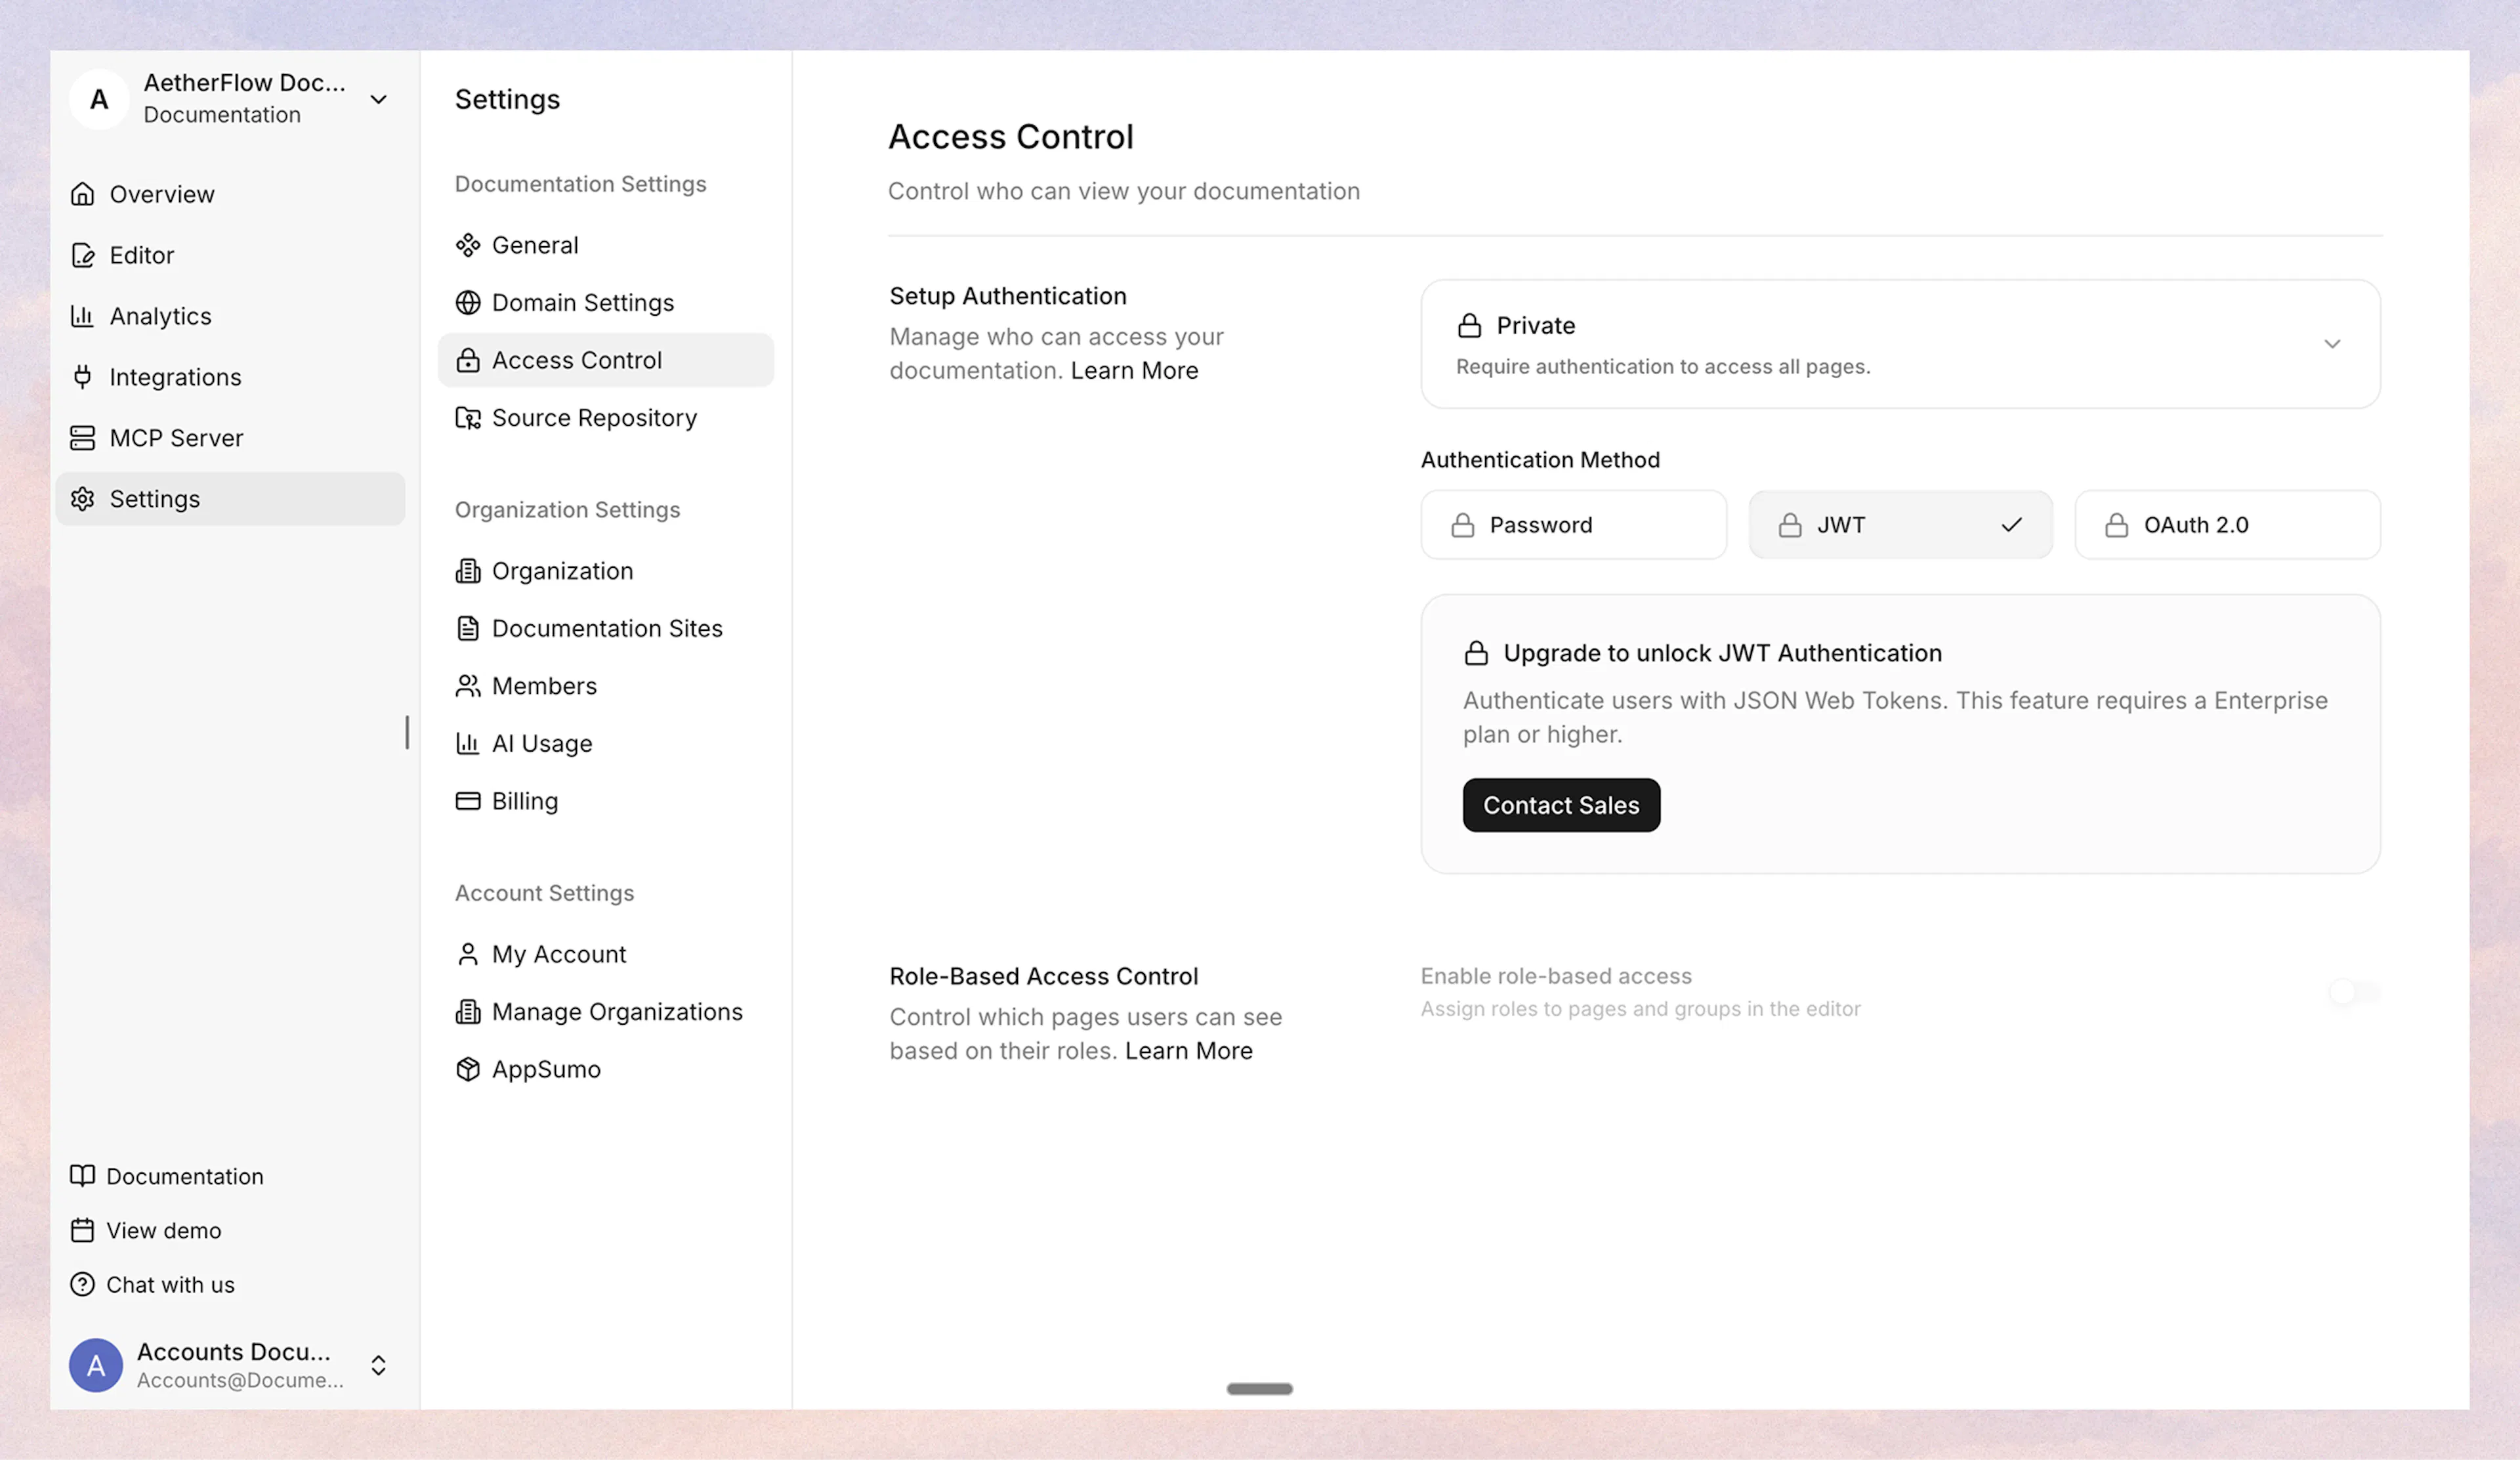
Private: All pages require authentication. Choose from Password, JWT, or OAuth 2.0.
-
Partial: A mix of public and password-protected pages. Only password authentication is available in this mode.
Authentication methods
Documentation.AI offers three authentication methods to protect your documentation:
| Method | Available in | User-level access | Personalization |
|---|---|---|---|
| Password | Private, Partial | No (shared password) | No |
| JWT | Private | Yes (per-user roles) | Yes |
| OAuth 2.0 | Private | Yes (per-user roles) | Yes |
Password
Simple shared password protection. Best for internal docs shared with a small team.
-
In Private mode, all pages are protected.
-
In Partial mode, you configure which pages are public and which require the password.
Set up password authentication ->
JWT
Integrate with your existing authentication system using JSON Web Tokens. Supports per-user access roles and personalization. Only available in Private mode.
OAuth 2.0
Integrate with OAuth 2.0 or OpenID Connect (OIDC) providers like Okta, Auth0, or Azure AD. Supports per-user access roles and personalization. Only available in Private mode.
Set up OAuth 2.0 authentication ->
Role-based access control
With JWT and OAuth 2.0 authentication, you can control which pages each user can see using the access-roles property in your documentation.json navigation.
Users whose token includes at least one matching role can view the page. Pages without access-roles are visible to all authenticated users. A special wildcard role * grants access to all pages.
Role-based access control is only available with JWT and OAuth 2.0 authentication in Private mode. Partial mode uses password authentication only.
How it works
Add the access-roles property to any navigation node in your documentation.json. It accepts an array of role name strings.
{
  "navigation": {
    "tabs": [
      {
        "tab": "Guides",
        "groups": [
          {
            "group": "Getting Started",
            "pages": [
              { "title": "Introduction", "path": "intro" },
              { "title": "Quick Start", "path": "quick-start" }
            ]
          },
          {
            "group": "Engineering",
            "access-roles": ["engineering", "platform"],
            "pages": [
              { "title": "Architecture", "path": "engineering/arch" },
              {
                "title": "Runbooks",
                "path": "engineering/runbooks",
                "access-roles": ["sre"]
              }
            ]
          }
        ]
      },
      {
        "tab": "Admin",
        "access-roles": ["admin"],
        "groups": [
          {
            "group": "Operations",
            "pages": [
              { "title": "Deploy Guide", "path": "admin/deploy" }
            ]
          }
        ]
      }
    ]
  }
}
In this example:
-
Introduction and Quick Start are visible to all authenticated users (no
access-rolesset). -
Architecture is visible to users with the
engineeringorplatformrole (inherited from the group). -
Runbooks is visible only to users with the
srerole (overrides the group's roles). -
Deploy Guide is visible only to users with the
adminrole (inherited from the tab).
Inheritance rules
-
Default: If no
access-rolesis set anywhere, pages are visible to all authenticated users. -
Closest wins: The closest (nearest) explicit
access-rolesin the navigation tree determines which roles are required for that node and its subtree. -
Explicit override: A child node can override its parent by setting its own
access-roles. -
Empty array: Setting
access-roles: []explicitly makes a node visible to all authenticated users, even if a parent has role restrictions.
Navigation filtering
When a user authenticates with JWT or OAuth 2.0, the sidebar, search results, and page navigation are automatically filtered based on their roles. Pages the user cannot access do not appear anywhere in the UI.
If a user navigates directly to a restricted URL, they see an "Access Restricted" page instead of the content.
JWT claims format
Your JWT or OAuth provider must include the accessRoles field in the token claims:
{
  "host": "docs.example.com",
  "firstname": "Alice",
  "company": "Acme Inc",
  "accessRoles": ["engineering", "sre"]
}
The field names are fixed: host, firstname, company, and accessRoles.
Last updated 3 weeks ago
Built with Documentation.AI