Lists and Tables
Reference for creating ordered lists, unordered lists, nested lists, and tables using both the editor UI and MDX.
Overview
Lists and tables help you structure content so readers can quickly scan procedures, options, and structured data.
- Lists are best for sequences and grouped items:
- Use ordered lists for step-by-step procedures or rankings.
- Use unordered lists for features, options, or requirements.
- Use nested lists to show hierarchy or sub-tasks.
- Tables are best when you need to compare fields, options, or statuses in a grid.
In Documentation.AI pages, lists and tables work alongside other components:
- For detailed, numbered procedures, consider using
<Steps>instead of a long ordered list. - For inline notes or warnings around lists and tables, use
<Callout>. - For code-heavy content, combine lists/tables with code examples from
Code and Groups.
You can add lists and tables either through the Web Editor or by writing Markdown/MDX in the Code Editor.
Using with Web Editor
Use the Web Editor when you prefer a visual, WYSIWYG-style workflow.
Insert and manage lists
- Place your cursor on a new line.
- Type / to open the block menu.
- Under Lists & Formatting, choose:
- Bullet List (unordered)
- Numbered List (ordered)
- Start typing your first item.
Then:
- Press Enter to create the next item.
- Press Tab to create a nested list under the current item.
- Use Shift + Tab to outdent and move back up a level.
You can also switch an existing paragraph to a list (or back to a paragraph) using the block dropdown on the left of the line.
Prefer writing in code?
You can switch to MDX view inside the Web Editor to write or edit this component using the same syntax as the Code Editor. This is useful if you want full control while staying in the Web Editor.
Insert and manage tables
- Place your cursor on a new line.
- Type / to open the block menu.
- Select Table.
A basic table is inserted:
- The first row is the header row. Text in this row is styled as headings (bold).
- From the second row onward, you can enter regular cell content.
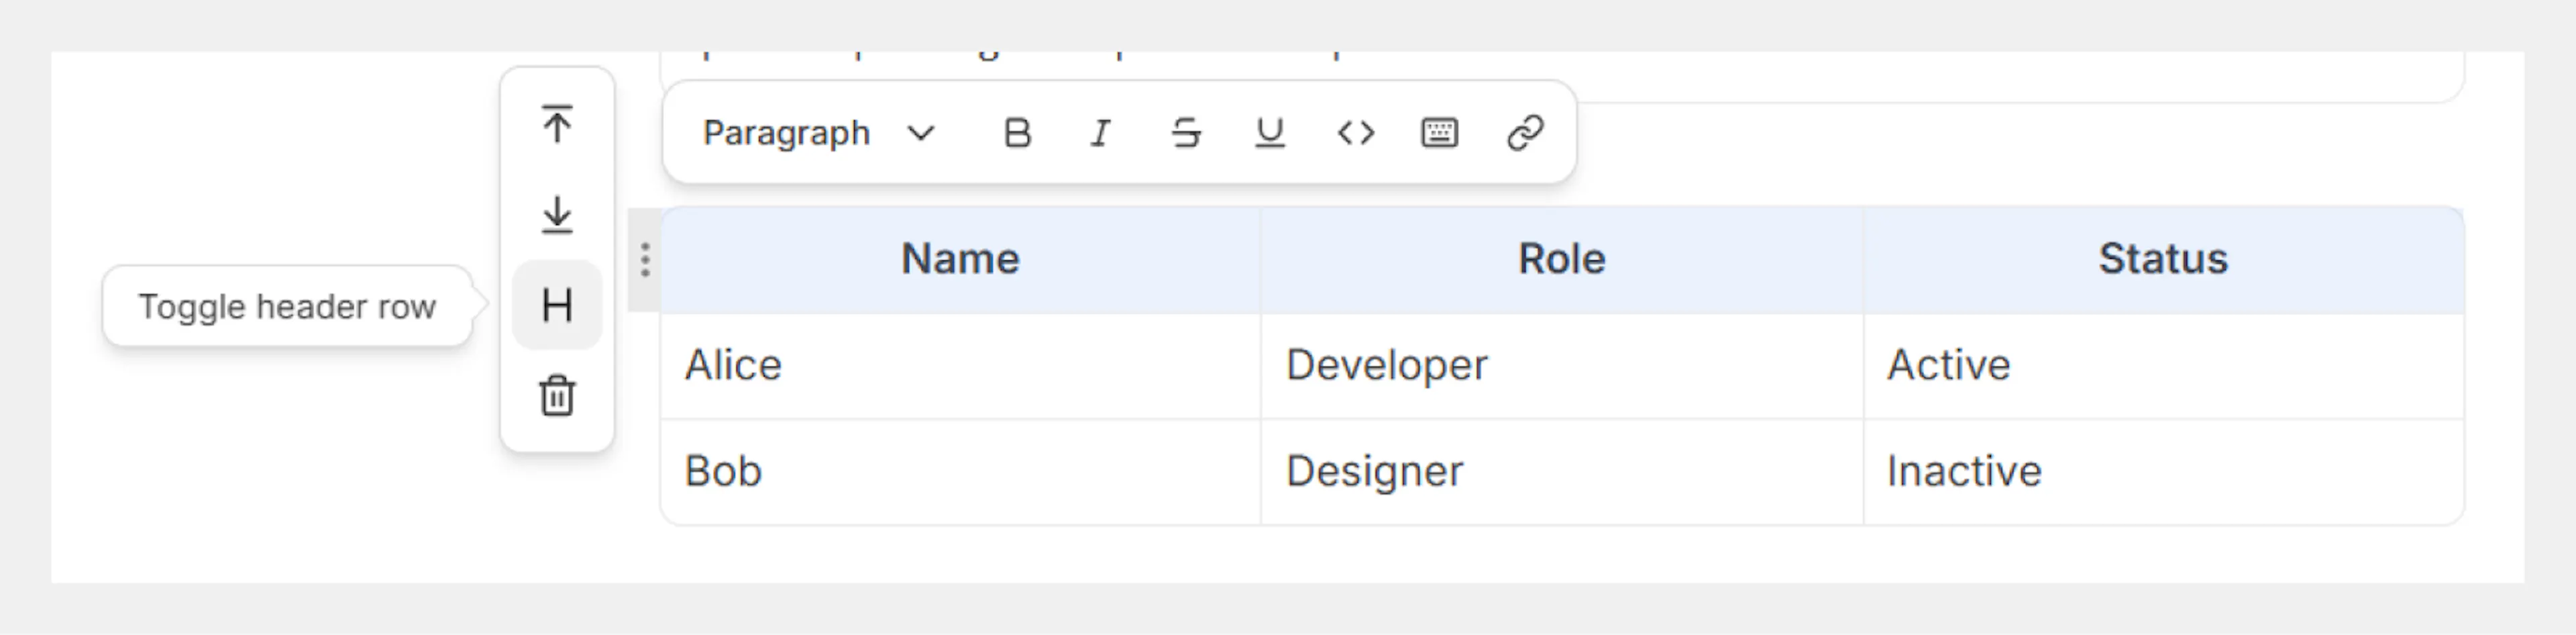
Row controls
Hover near the left edge of a row to reveal the row toolbar:
- H – Toggle header styling on or off for that row.
- Up/Down arrows – Move the current row up or down.
- Trash (when present) – Delete the row.
Use these controls to:
- Turn a content row into a header row or demote it back.
- Reorder rows without copy-paste.
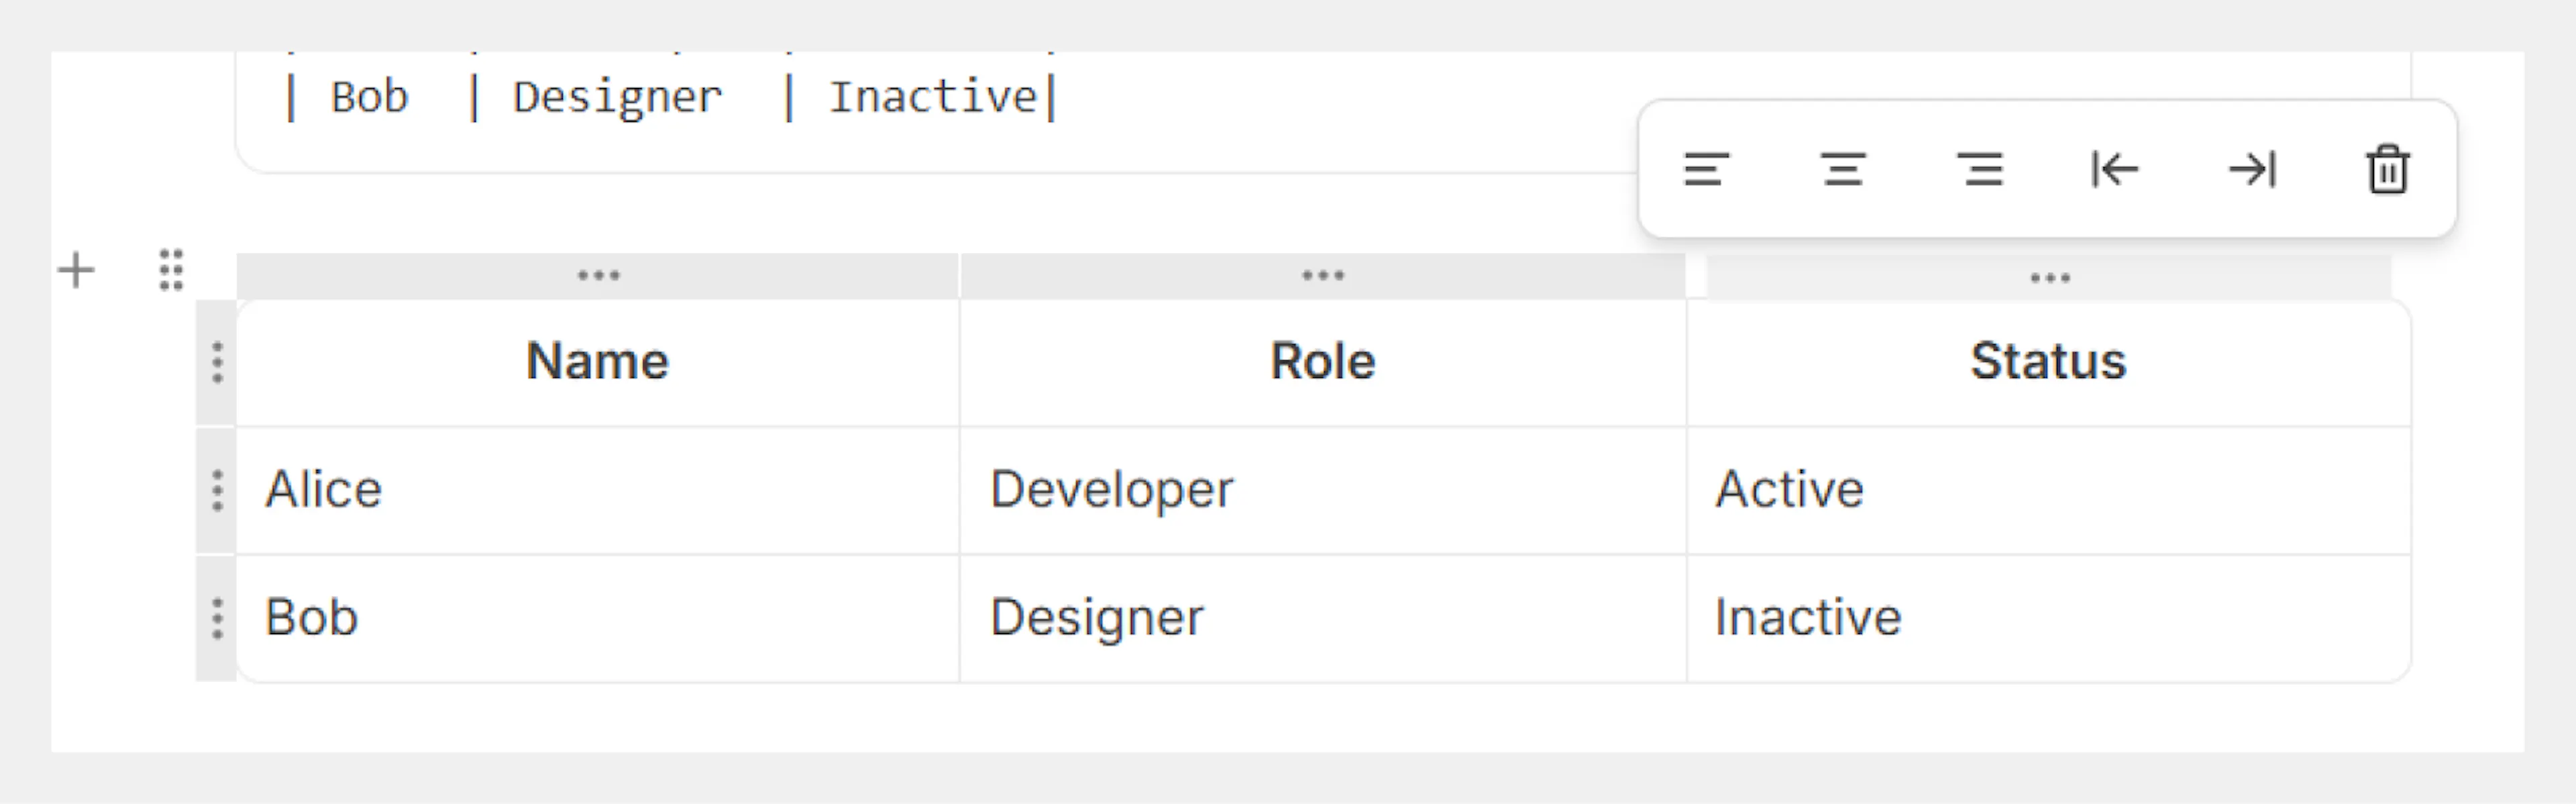
Column controls
Hover over the top of a column to reveal the column toolbar (three-dot icon):
- Change alignment for the column (left, center, or right).
- Move the column left or right using the arrows.
- Delete the column if you no longer need it.
If you need more complex, API-style tables, you can also use dedicated components like <ParamField> and <ResponseField>.
Using with Code Editor
Use the Code Editor when you want full control over Markdown/MDX syntax or when working from a Git workflow. Lists and tables use standard Markdown syntax and render the same way as content created via the Web Editor.
Lists
Ordered lists
Use numbers followed by periods:
1. First item
2. Second item
3. Third item
Renders as:
- First item
- Second item
- Third item
Markdown automatically sequences ordered lists. You can use 1. for every item, and it will still render in order.
Unordered lists
Use dashes, asterisks, or plus signs:
- First item
- Second item
- Third item
Renders as:
- First item
- Second item
- Third item
For consistency across your docs, prefer using - for unordered lists.
Nested lists
Indent nested items with spaces (commonly 2 or 4 spaces). Tabs also work, but spaces are more predictable in version control.
1. First item
   - Nested unordered item
   - Another nested item
2. Second item
   1. Nested ordered item
   2. Another nested ordered item
3. Third item
Renders as:
- First item
- Nested unordered item
- Another nested item
- Second item
- Nested ordered item
- Another nested ordered item
- Third item
Mixing different unordered markers (-, *, +) within the same list can cause inconsistent rendering across Markdown parsers. Stick to a single marker per list.
For long, multi-step procedures, consider using the Steps component, which gives you more control over step titles and icons.
Tables
Basic table syntax
Use pipes (|) to separate columns and dashes (-) to define the header row:
| Feature        | Description         | Status      |
| -------------- | ------------------- | ----------- |
| Authentication | User login system   | Complete    |
| Dashboard      | Main user interface | In progress |
| Reports        | Data analytics      | Planned     |
Renders as:
| Feature | Description | Status |
|---|---|---|
| Authentication | User login system | Complete |
| Dashboard | Main user interface | In progress |
| Reports | Data analytics | Planned |
Alignment and readability
You can add colons to the header separator row to control alignment:
| Name  | Role      | Status   |
| :---- | :-------- | -------: |
| Alice | Developer | Active   |
| Bob   | Designer  | Inactive |
:----makes a column left-aligned.:----:makes a column center-aligned.----:makes a column right-aligned.
It is not required to perfectly align the pipes in your raw Markdown, but it can make tables easier to edit in code.
Advanced options
Indentation and nested content
When nesting lists:
- Use consistent indentation (for example, 2 or 4 spaces) for each nesting level.
- Avoid mixing tabs and spaces within the same list.
- Keep nested lists short; if you need deep hierarchies, consider using
Expandablesor separate sections instead.
Table formatting best practices
- Keep column labels short and scannable; use separate paragraphs or
Calloutfor long explanations. - Prefer multiple smaller tables over one very wide table that may require horizontal scrolling.
- For API schemas or complex field documentation, use the dedicated
API Componentsinstead of hand-written Markdown tables.